Hello! Long time no… blog! Since my last post, a lot has happened. A lot has happened for me, and for the world. Everything felt too overwhelming to even think about blogging about food. That seems to be how I decided to handle the craziness of the world – shut down and focus inwards on my family. Thankfully, I have come back around to continue documenting the things I have the privilege of creating in my kitchen! With the new music rules, I am hoping that I will also be able to attach the music I jam to while I am making these delicious recipes.
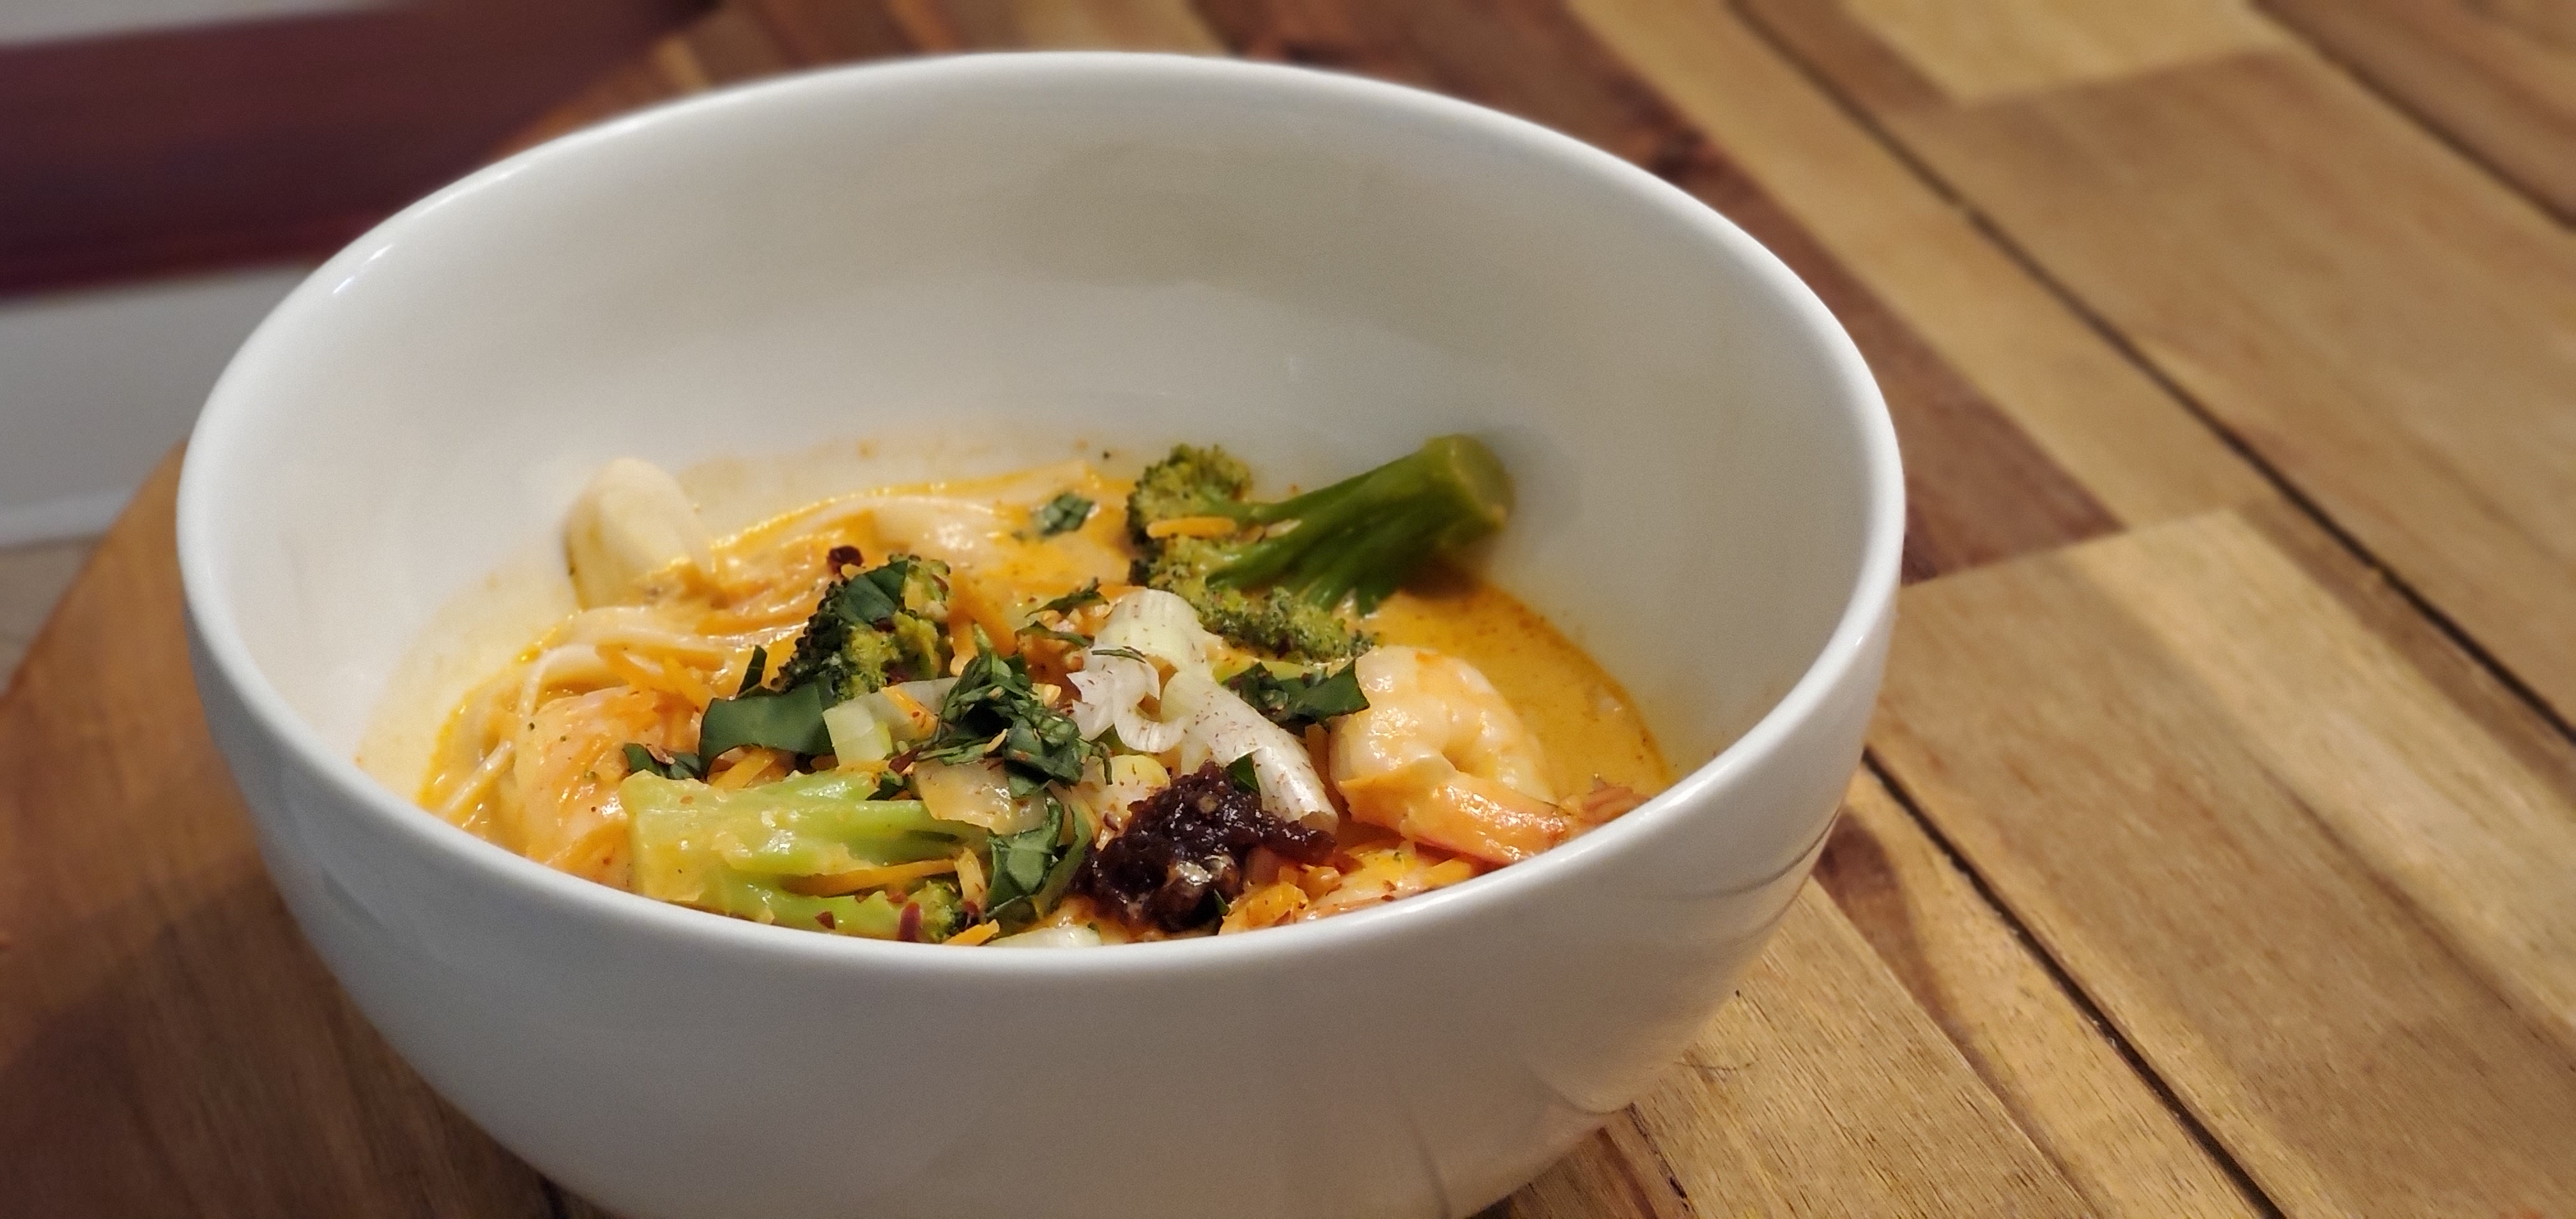
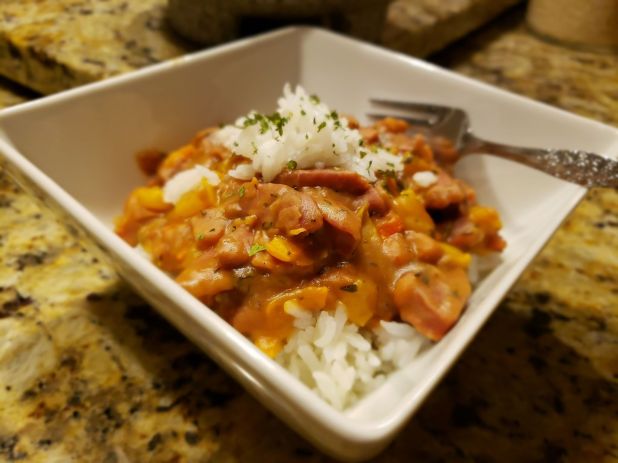
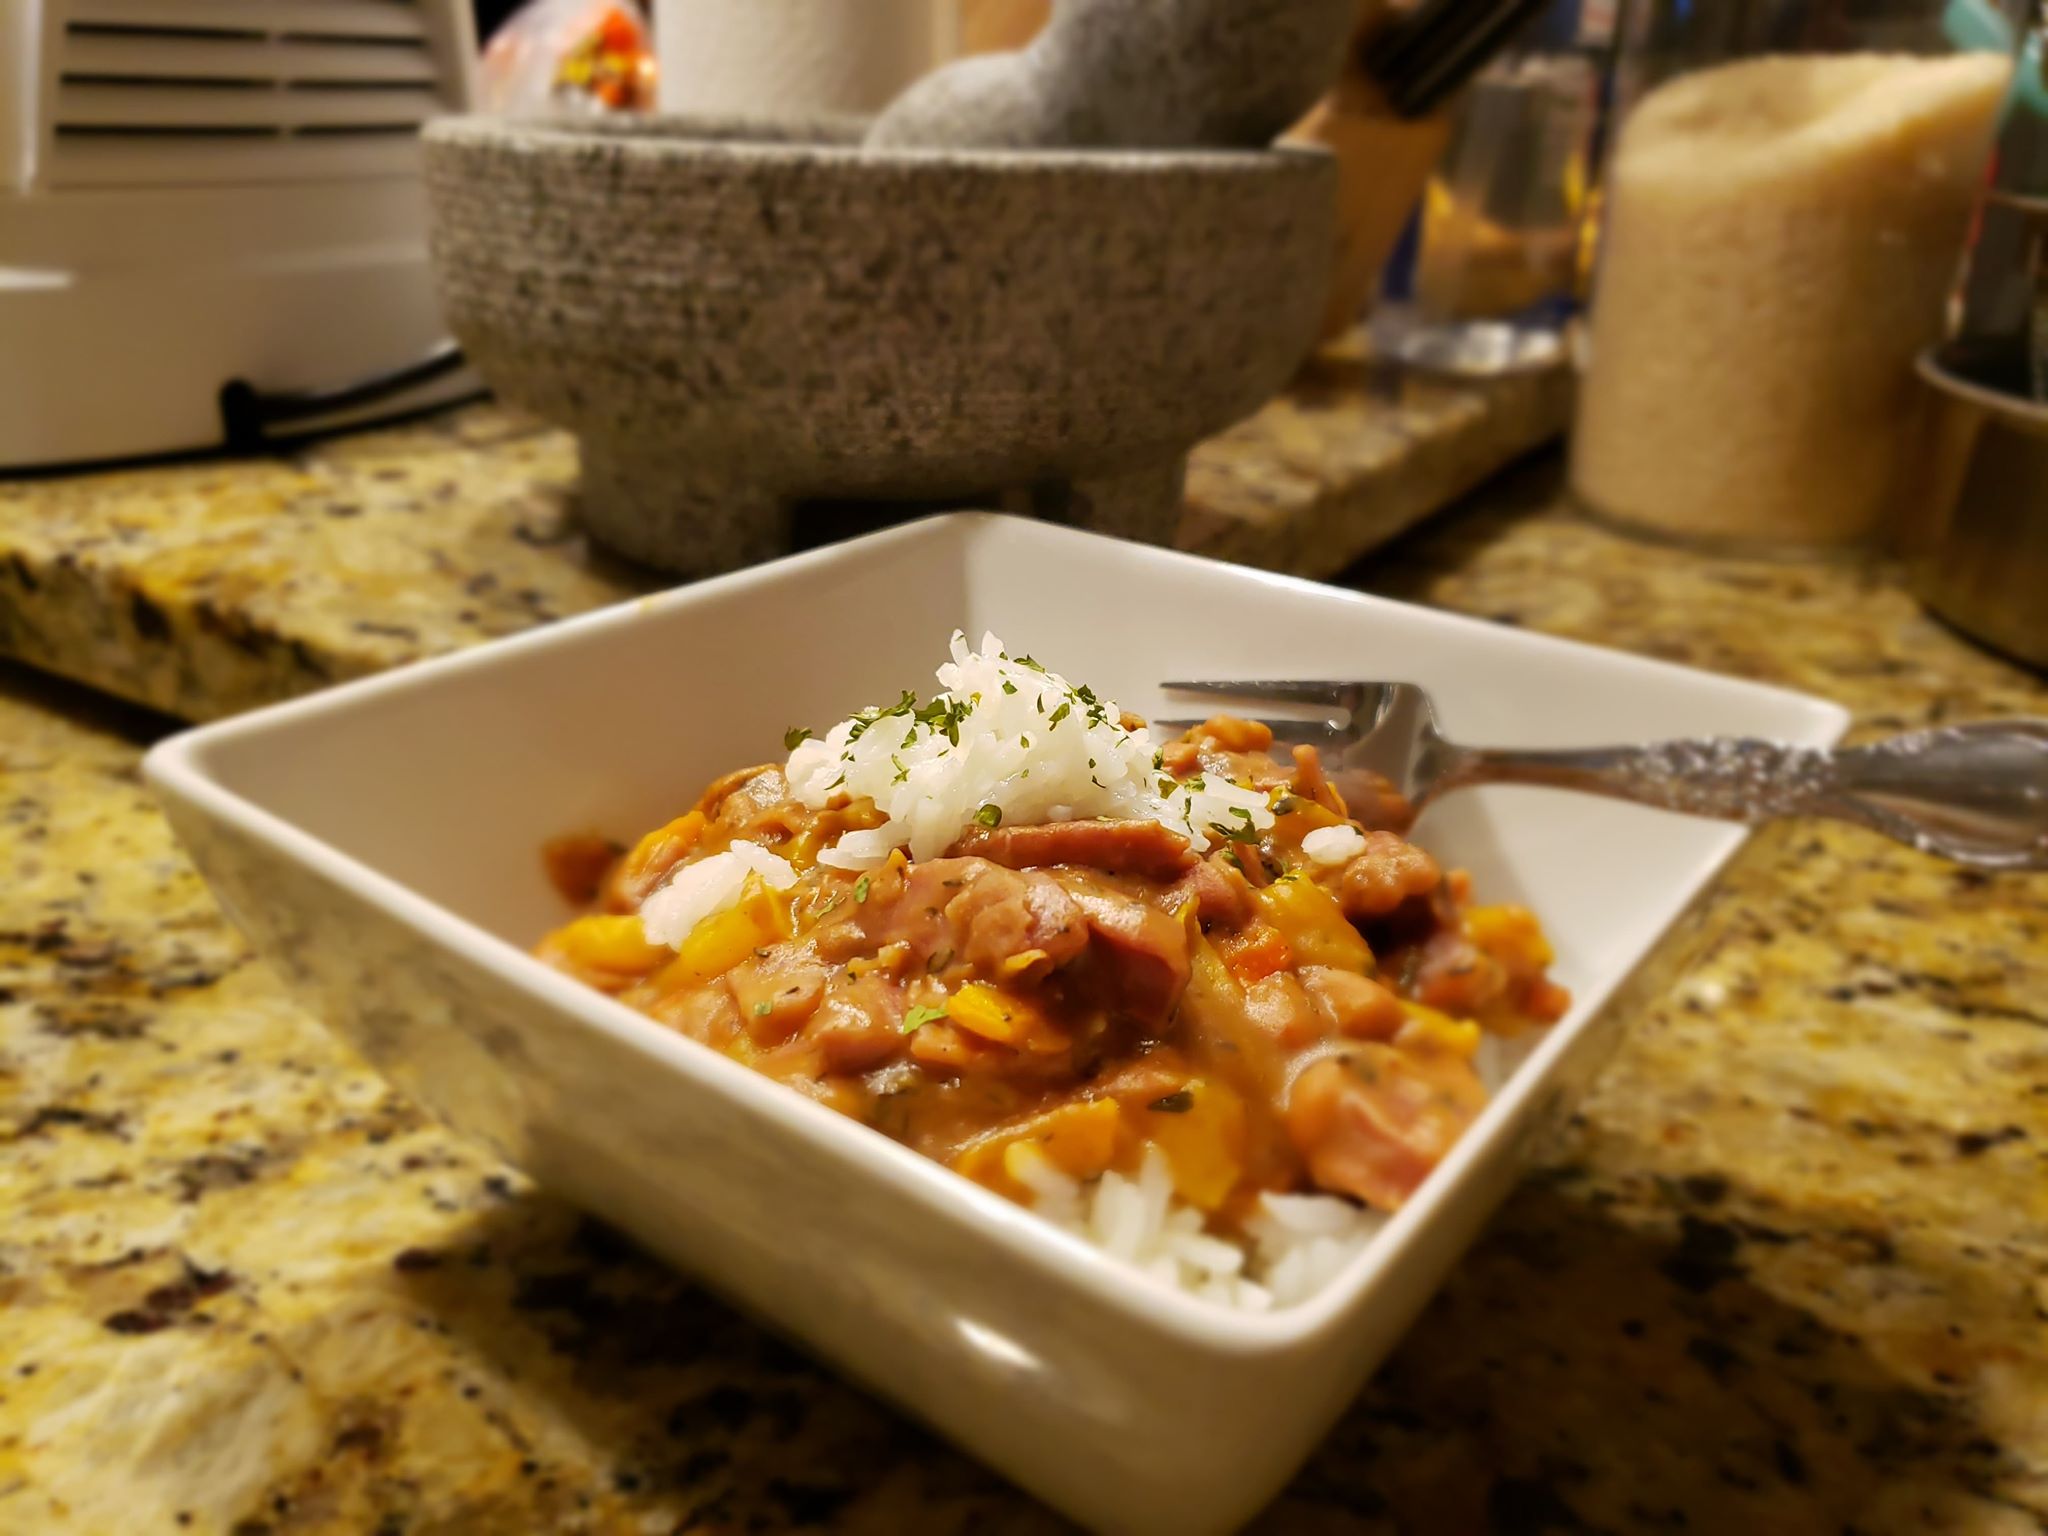
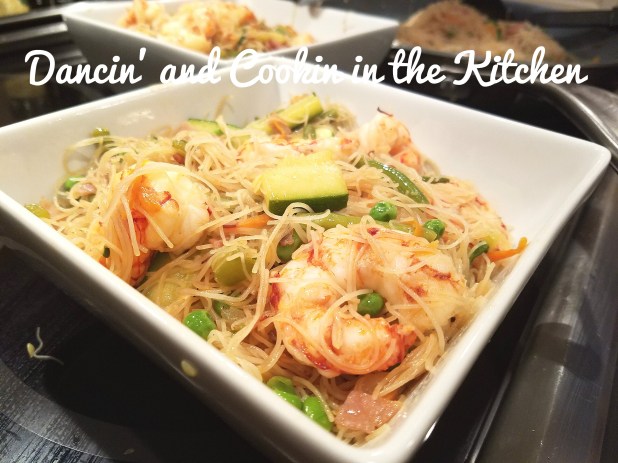
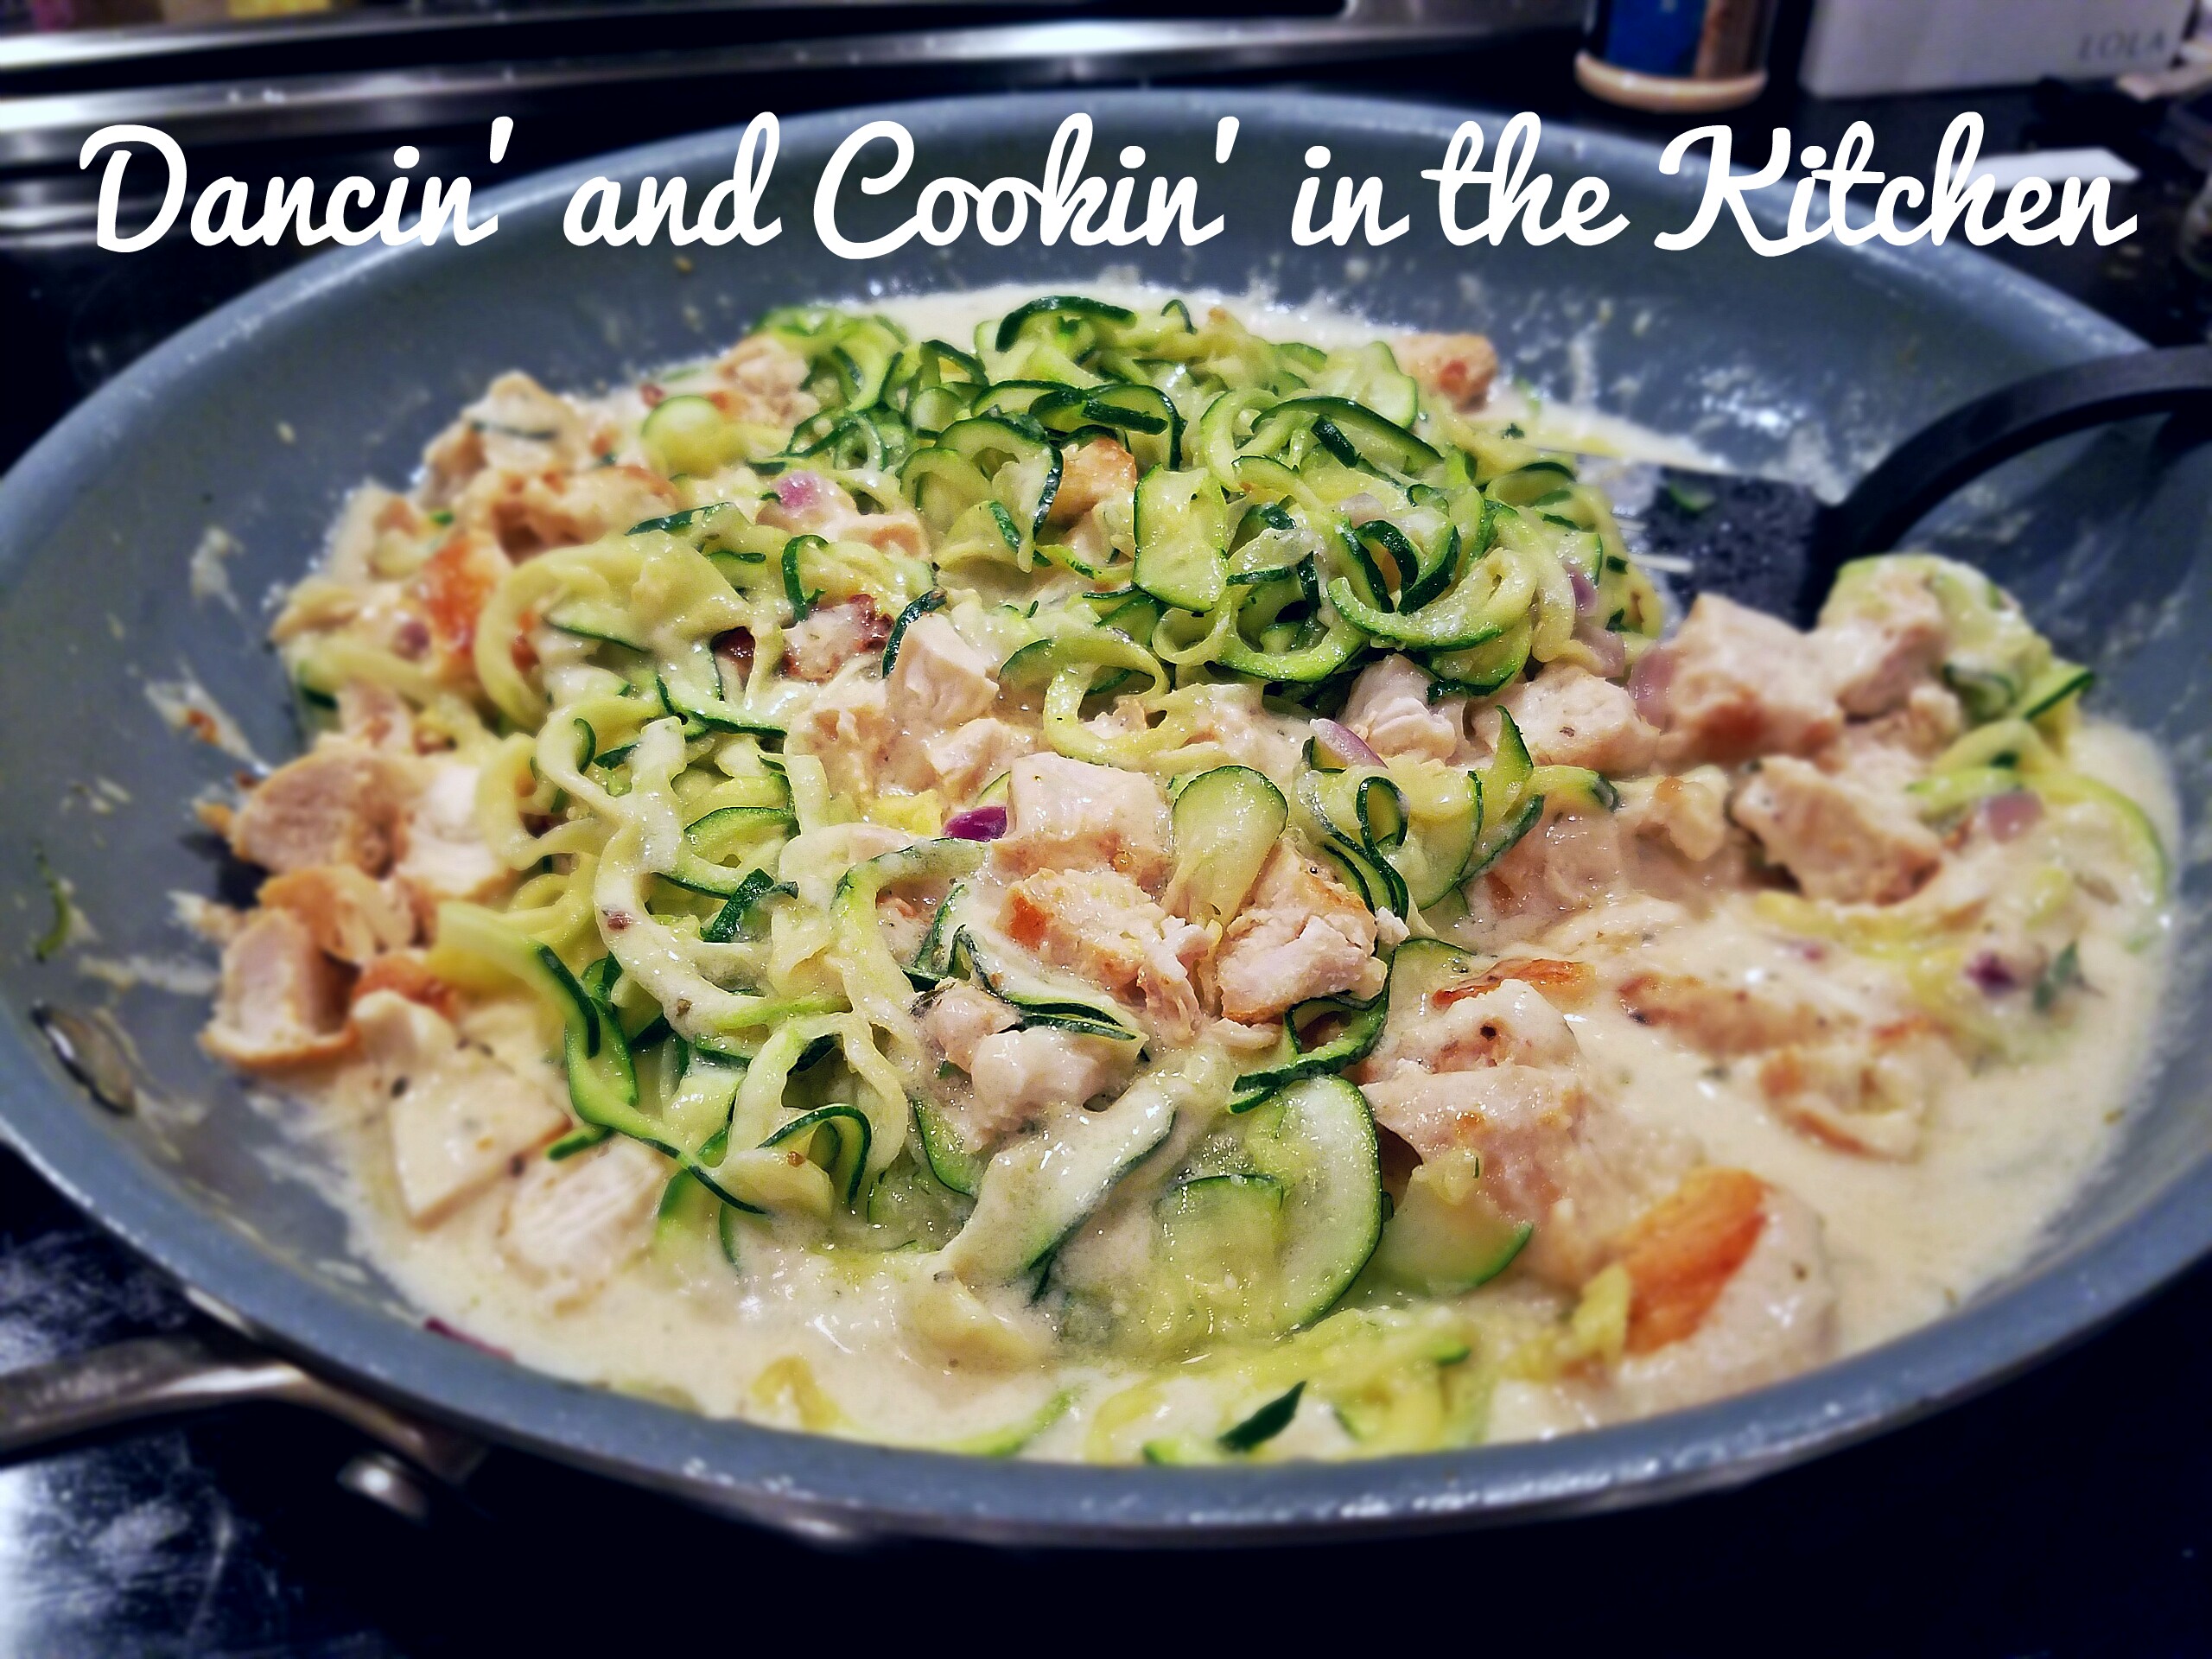
Moving on! This recipe has become a recipe that my family asks for on a weekly basis. In our house we have a few days that are structured. Thursday is “Taco Thursday” (I know, I know… normally it’s Taco Tuesday. Our house is strange like this.), and Friday is family movie and pizza night, and Saturdays we usually have leftovers. Every other night of the week I usually create something new and fun. My family usually requests staple favorites that I will sometimes oblige them and make. Those happen to be: “Red Beans and Rice” Risotto, Coconut Curry Noodles, Shrimp and Avocado Corn Salad, Chicken Meatballs, and Spaghetti and Meatballs. Some of these I have blogged, and some I have not. My husband said that I need to at least blog the recipes that they ask for repeatedly so that I can make them the same way I did the time before. Why would he say this? It is because a lot of times I cook by feel, do not measure, and do not remember exactly how I made it the time before! Oops! This recipe, in my book, is very simple and easy. Some of my recipes can get a bit complicated and take more than an hour. This one, start to finish, should take 30 minutes or less! So, here I go, blogging the recipe that has been asked for weekly since I first made it back in May: Coconut Curry Shrimp and Noodles.
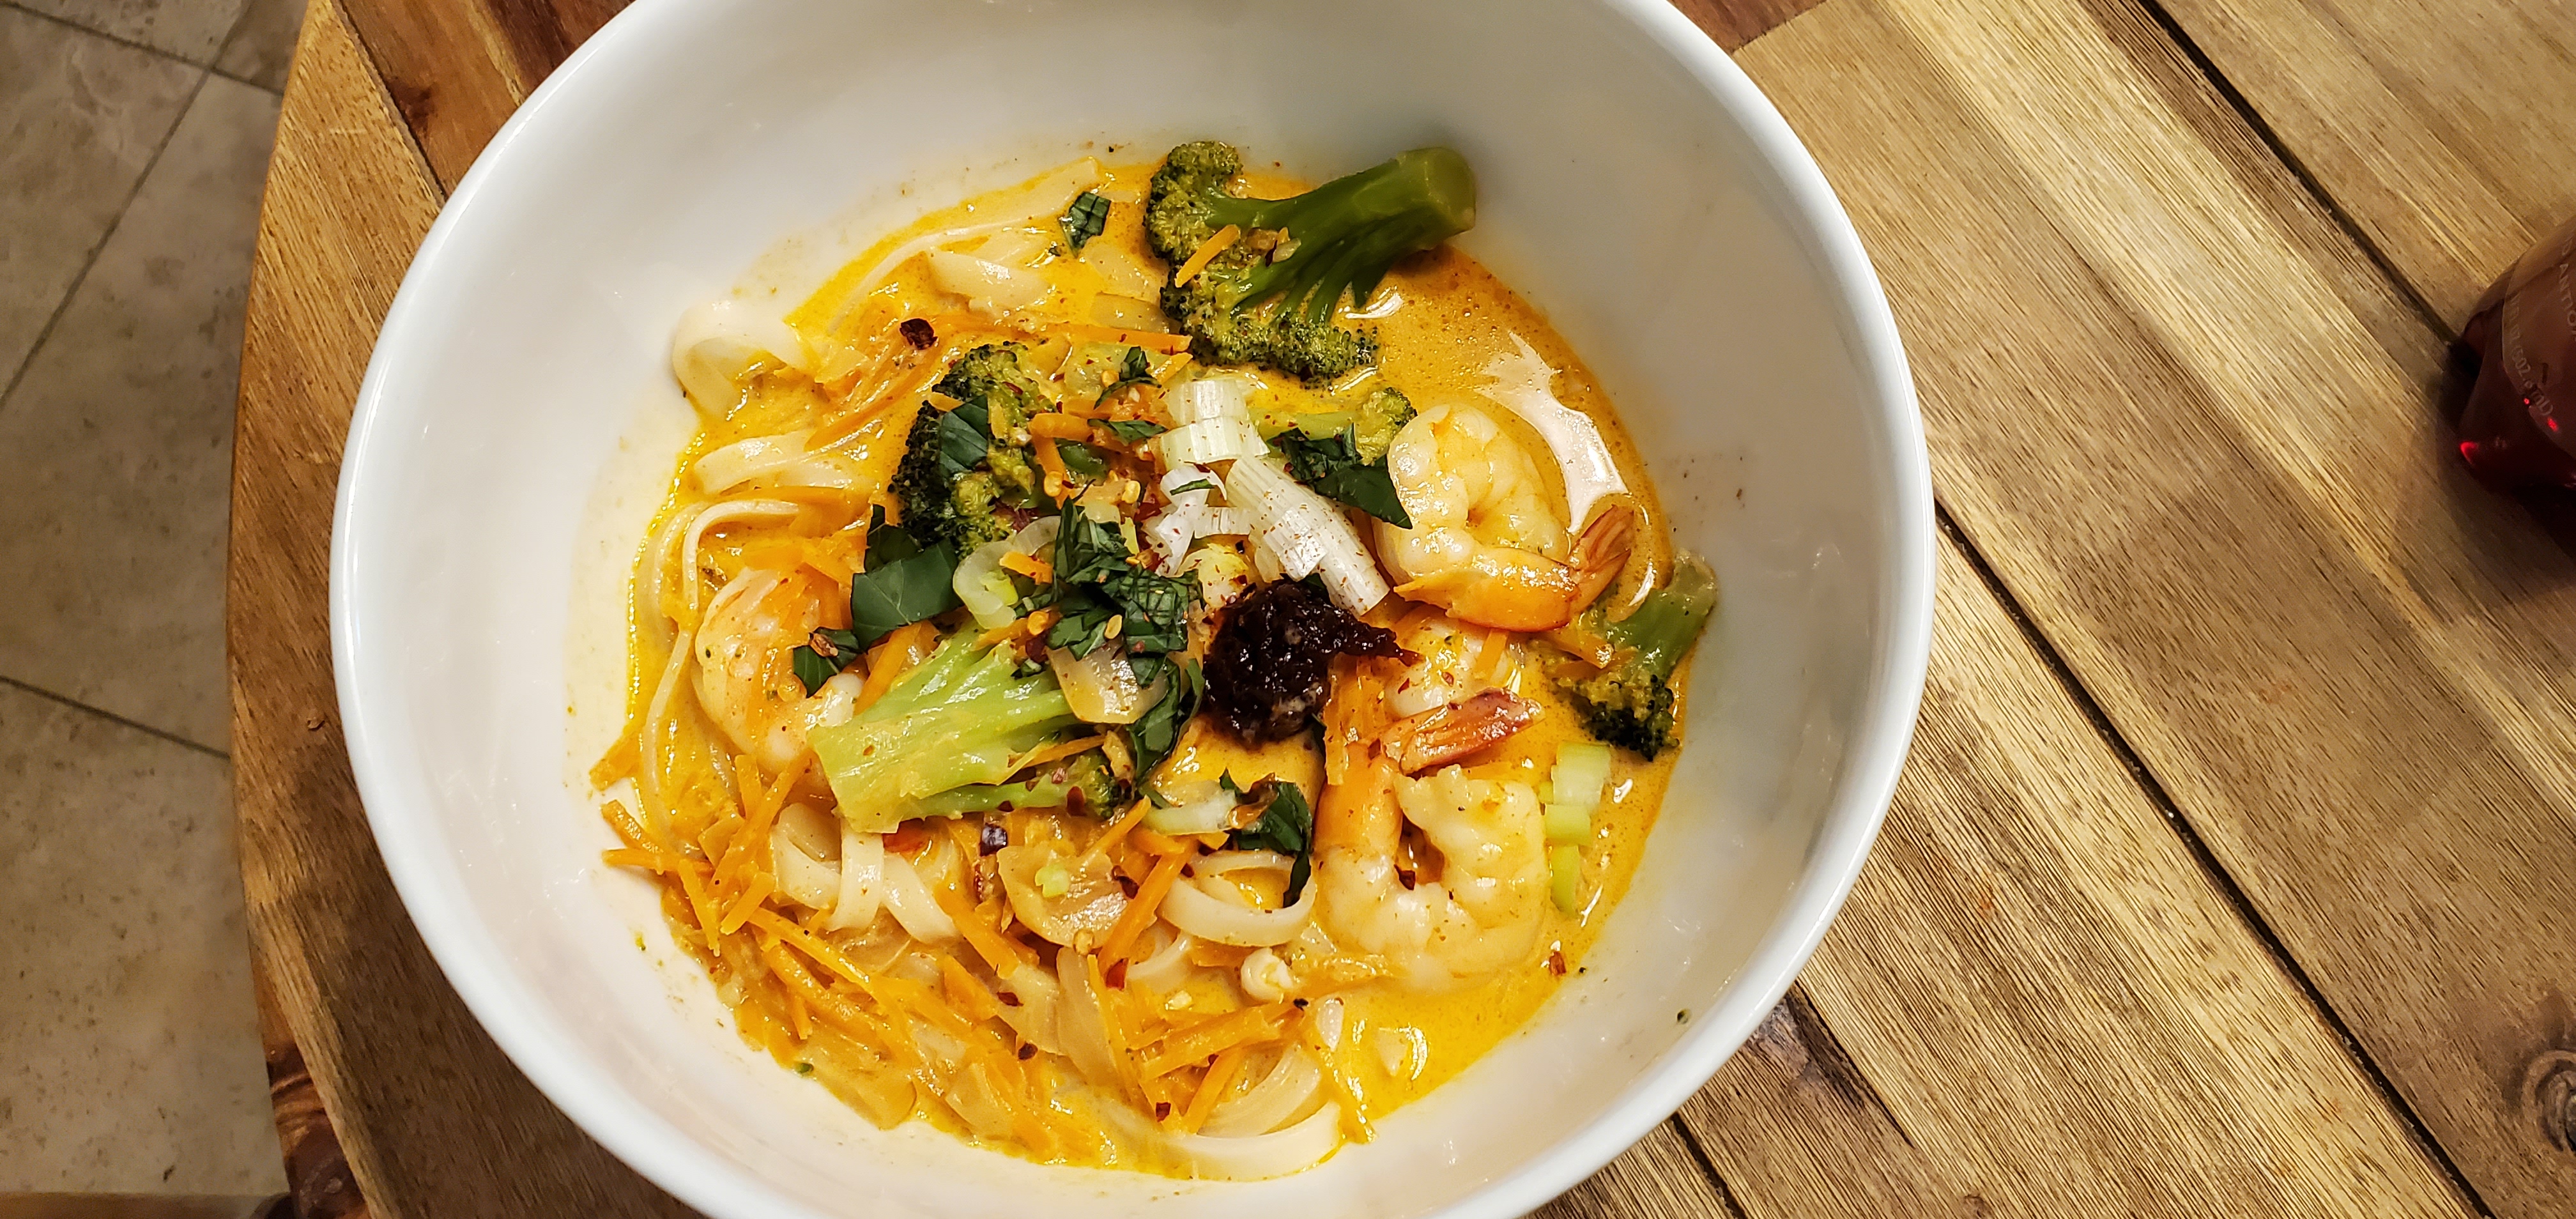
Coconut Curry Shrimp and Noodles
Serves 3 to 4 people
Ingredients:
1 package of Thai Rice Noodles – linguini * my package contained 8 servings, so I used half of the package
1 TB coconut oil
1/4 diced sweet onion (I used leftover diced onion in my freezer)
1/4 tsp dried ginger (if you use fresh, it would be around the same)
1 cup shredded (or julienned) carrots
1/2 tsp minced garlic
splash or so of coconut aminos (same as soy sauce)
2 cups frozen broccoli florets (Baby florets would work better, but I didn’t have them.)
2 TB red curry paste
dash or so (depending on your preference of spiciness) of dried red pepper flakes
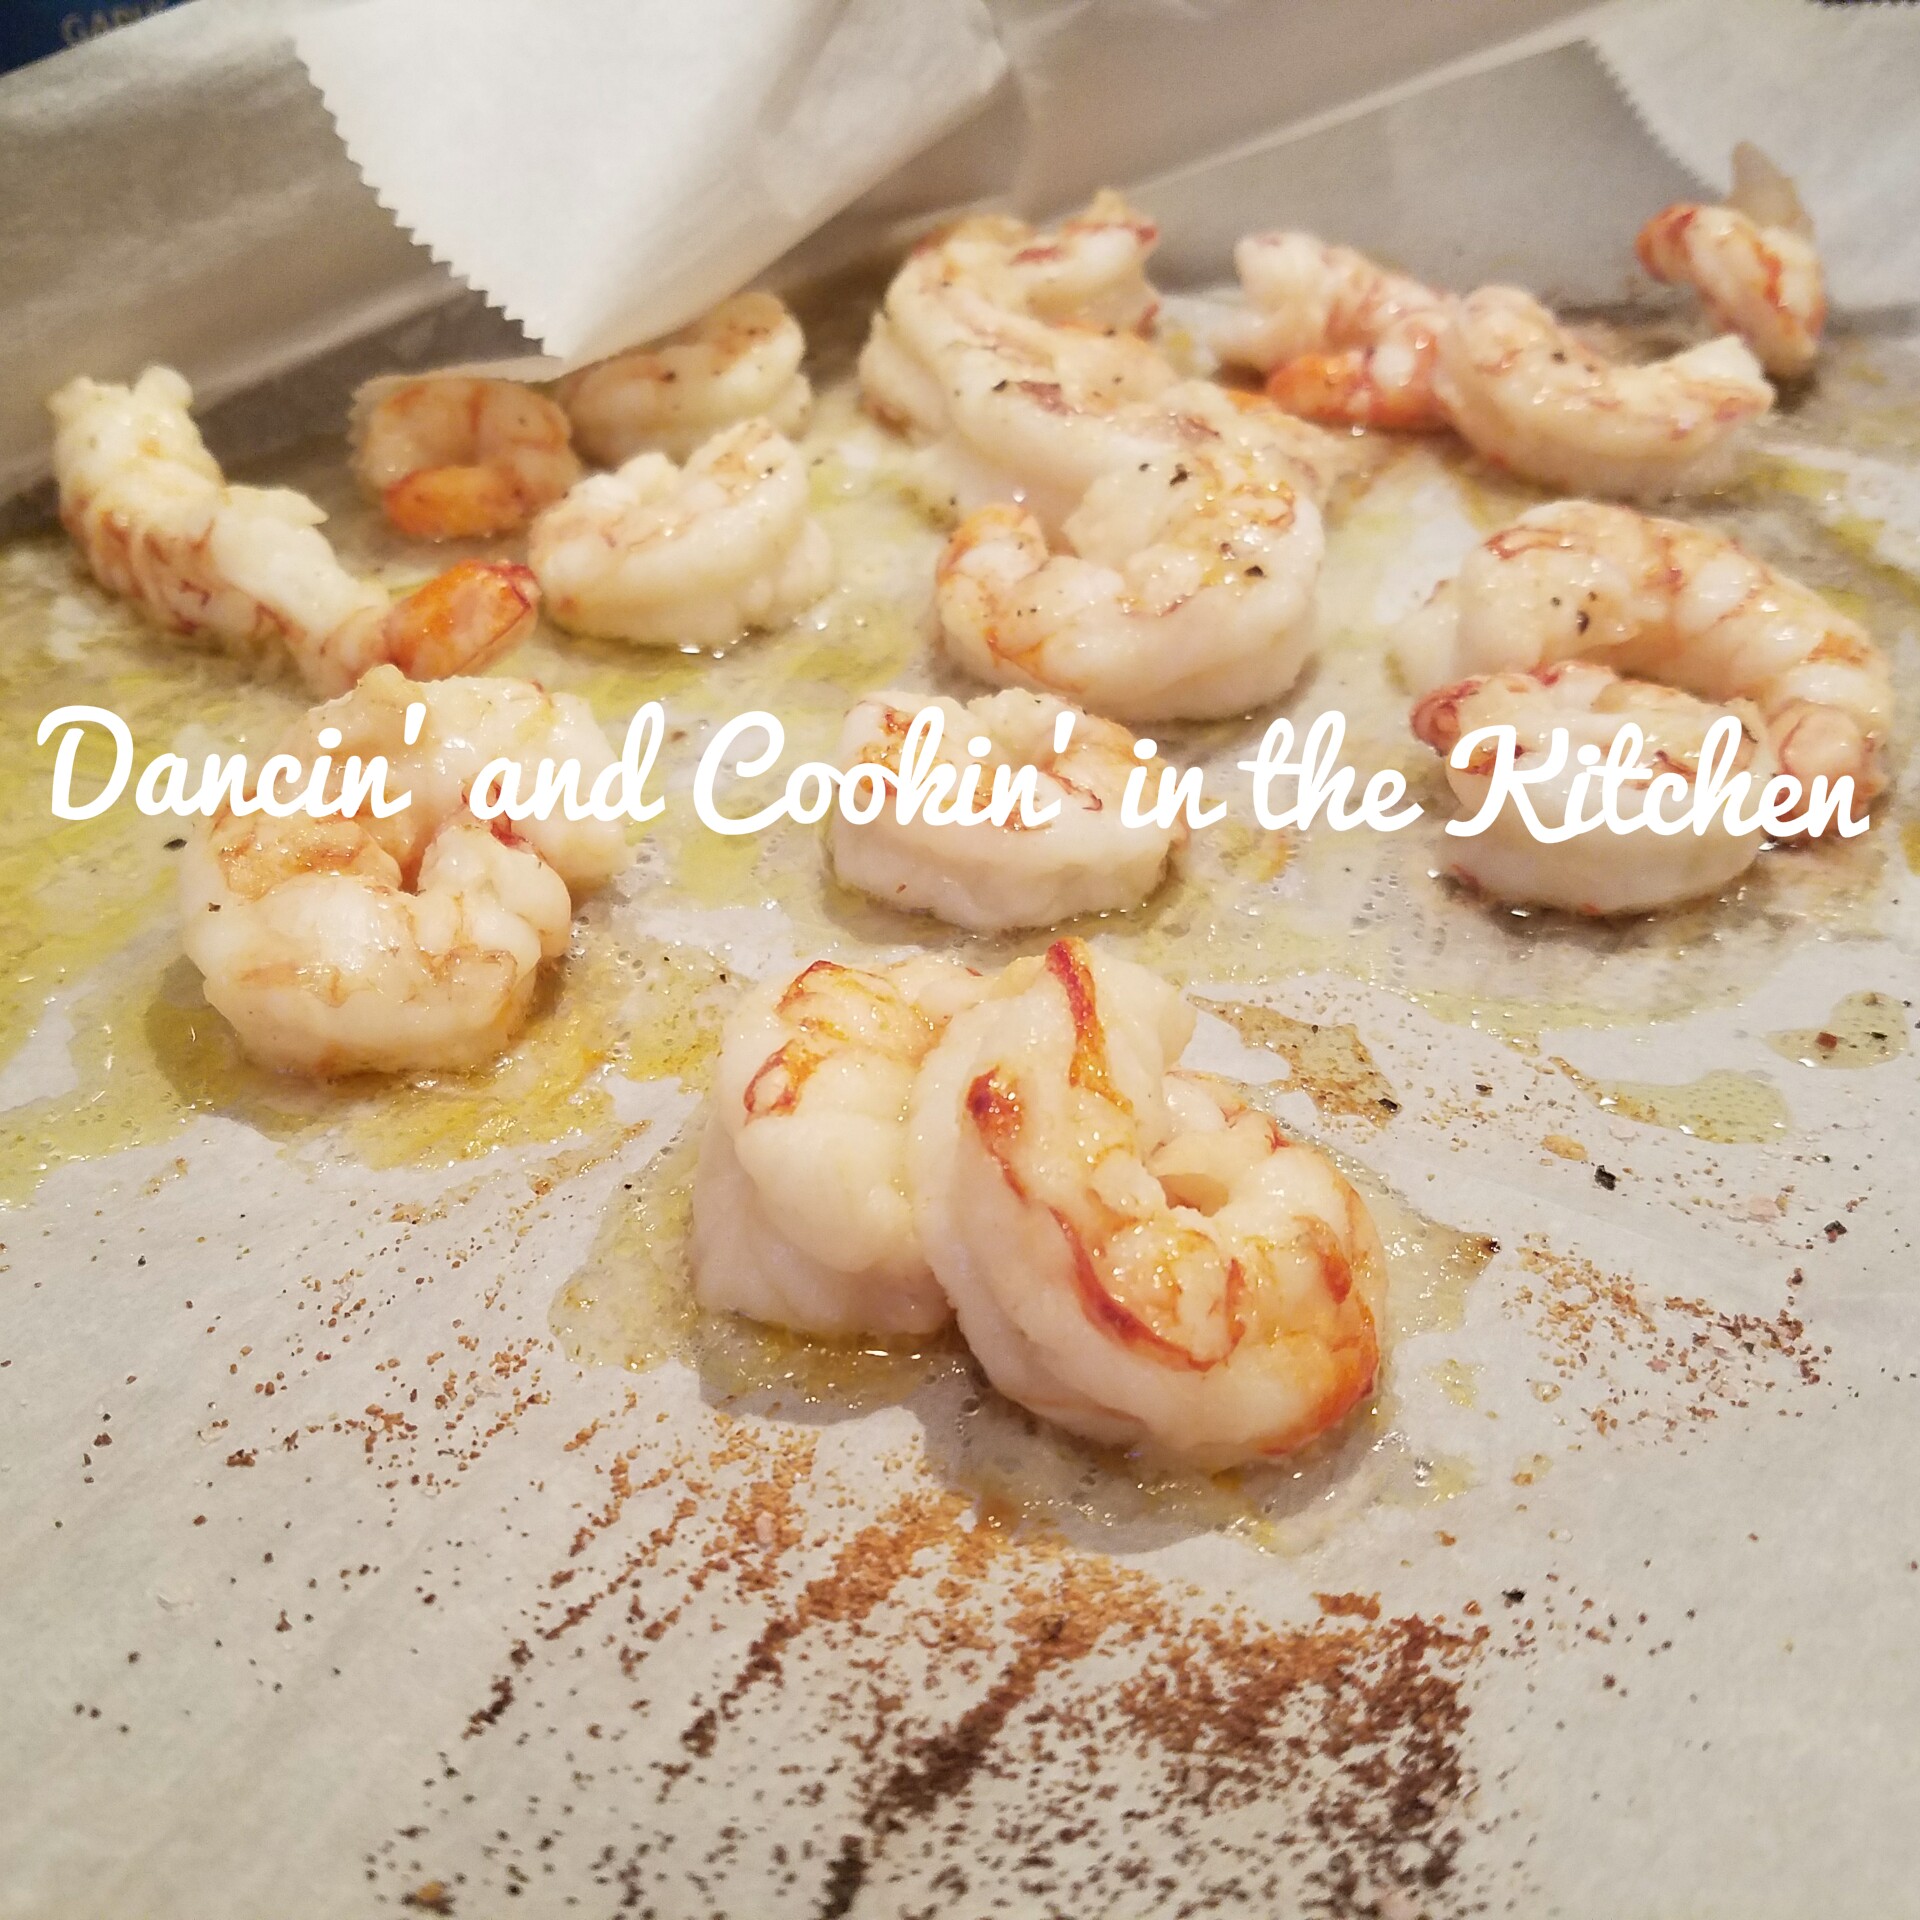
1/2 lb or so of frozen shrimp (I did not thaw them, they cooked in the sauce)
Directions:
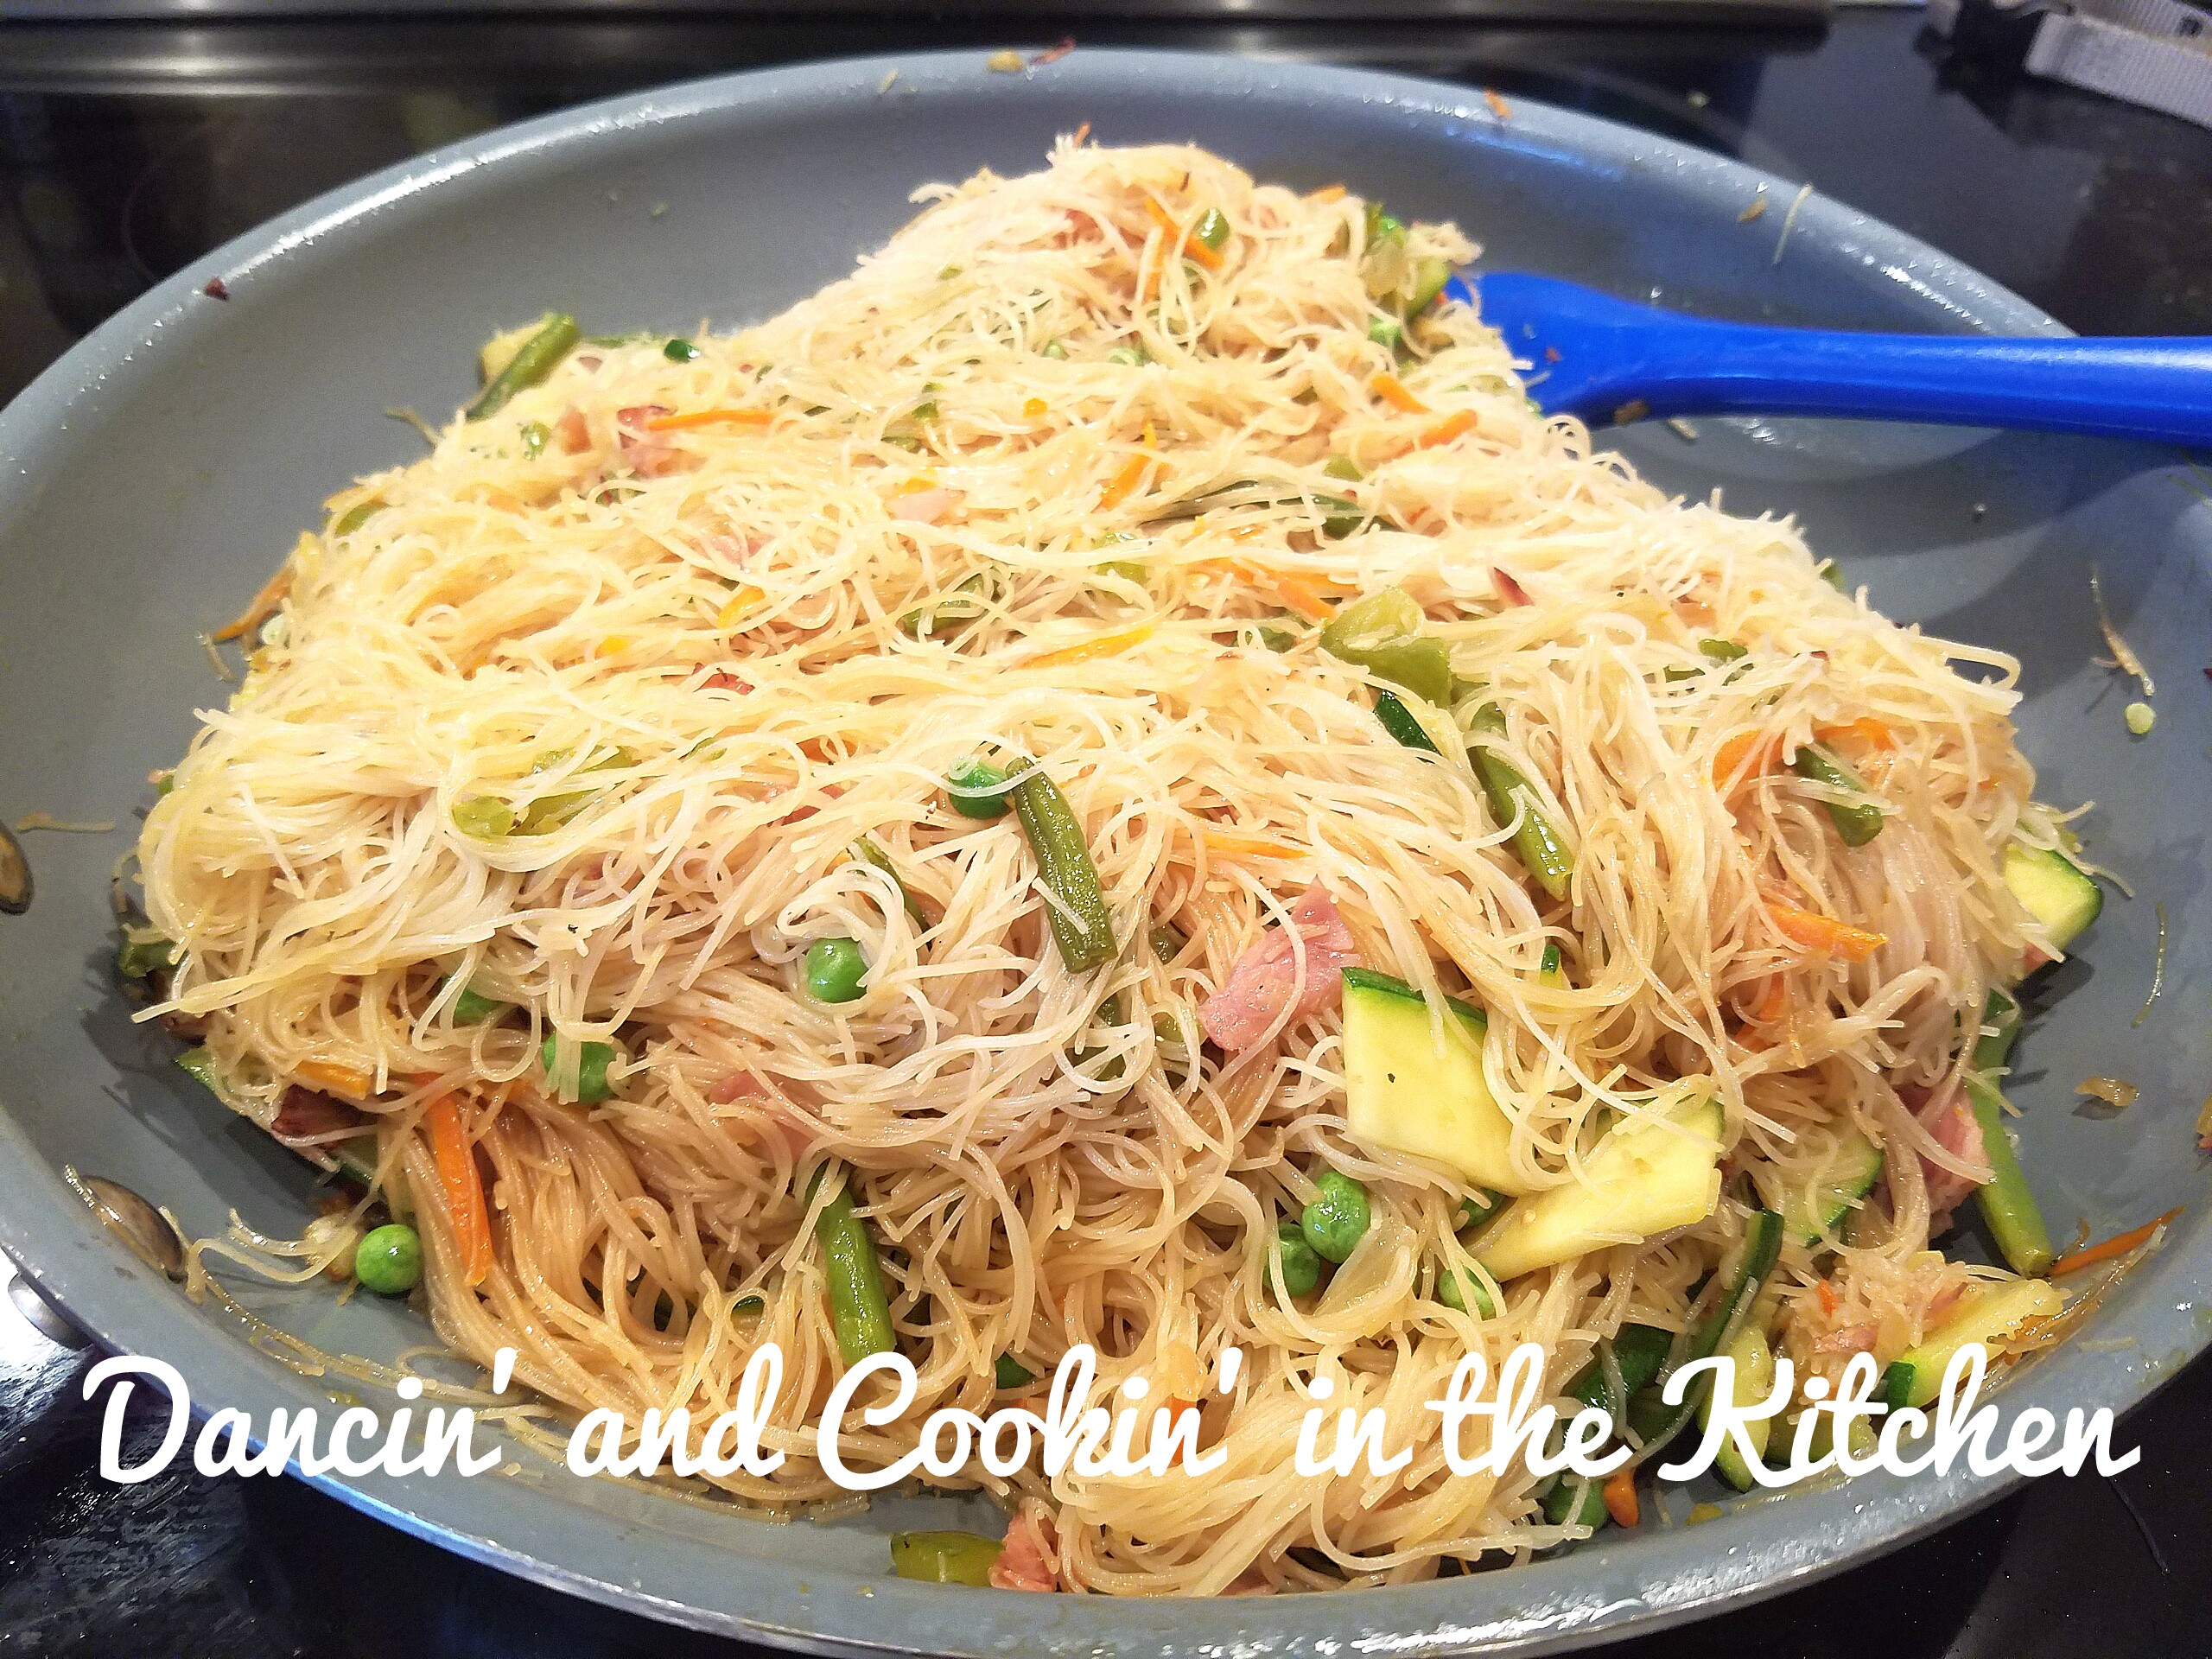
Bring a sauce pan of water to a boil with about 1 TB of sea salt. Once it is at a rolling boil, turn off the heat and add the noodles to the hot water. Make sure they are fully covered and set the timer directed on the noodle packaging. Mine said 25 minutes. Let the noodles soak while you prepare the remainder of the meal.
In a wok or a sauté pan, add 1 TB coconut oil (or another oil of your preference). Let heat at medium to medium high. Add the onion and stir until the onions become opaque. Add salt and pepper to your preference (I use fresh ground, so I didn’t measure.). You won’t need a lot since there is other ingredients in the recipe that contain salt. Once the onions start to brown slightly on the edges, add the shredded carrots and the garlic. Then drizzle in the coconut aminos (or soy sauce). Add the frozen broccoli, curry paste, and dried pepper flakes and stir until well combined. Let simmer until the broccoli has thawed and the carrots have started to soften. Add the coconut cream. *I used Trader Joe’s Coconut Cream, but you can use this or coconut milk. I have used several different kinds. The sweetened coconut milk was WAY too sweet for this dish, in my opinion. I would recommend that you make sure whichever one you choose is unsweetened for the correct taste and flavor in this dish. Let the vegetables simmer in the coconut slurry until soft. When there is about 5 minutes left on the timer for the noodles to soak in the hot water, add the shrimp to the coconut milk mixture. Cooking your shrimp in this mixture keeps them tender and helps them not dry out. (Other options of meat work as well, or chickpeas for a vegan option!) Let the shrimp cook in the mixture until they reach 120 degrees farenheit, or until they are pink and opaque. By this time the noodles should be done soaking and can be strained. Strain the noodles, and I added a bit of the sauce to the strained noodles to keep them from sticking together. Then, serve! I topped mine with a bit of chopped basil, green onions, chili paste and dried chili peppers. Cilantro is also a delicious garnish. Enjoy!